When you purchase through links on our site, we may earn an affiliate commission.Heres how it works.
Its time to look at how to add titles inAdobePremiere Pro.
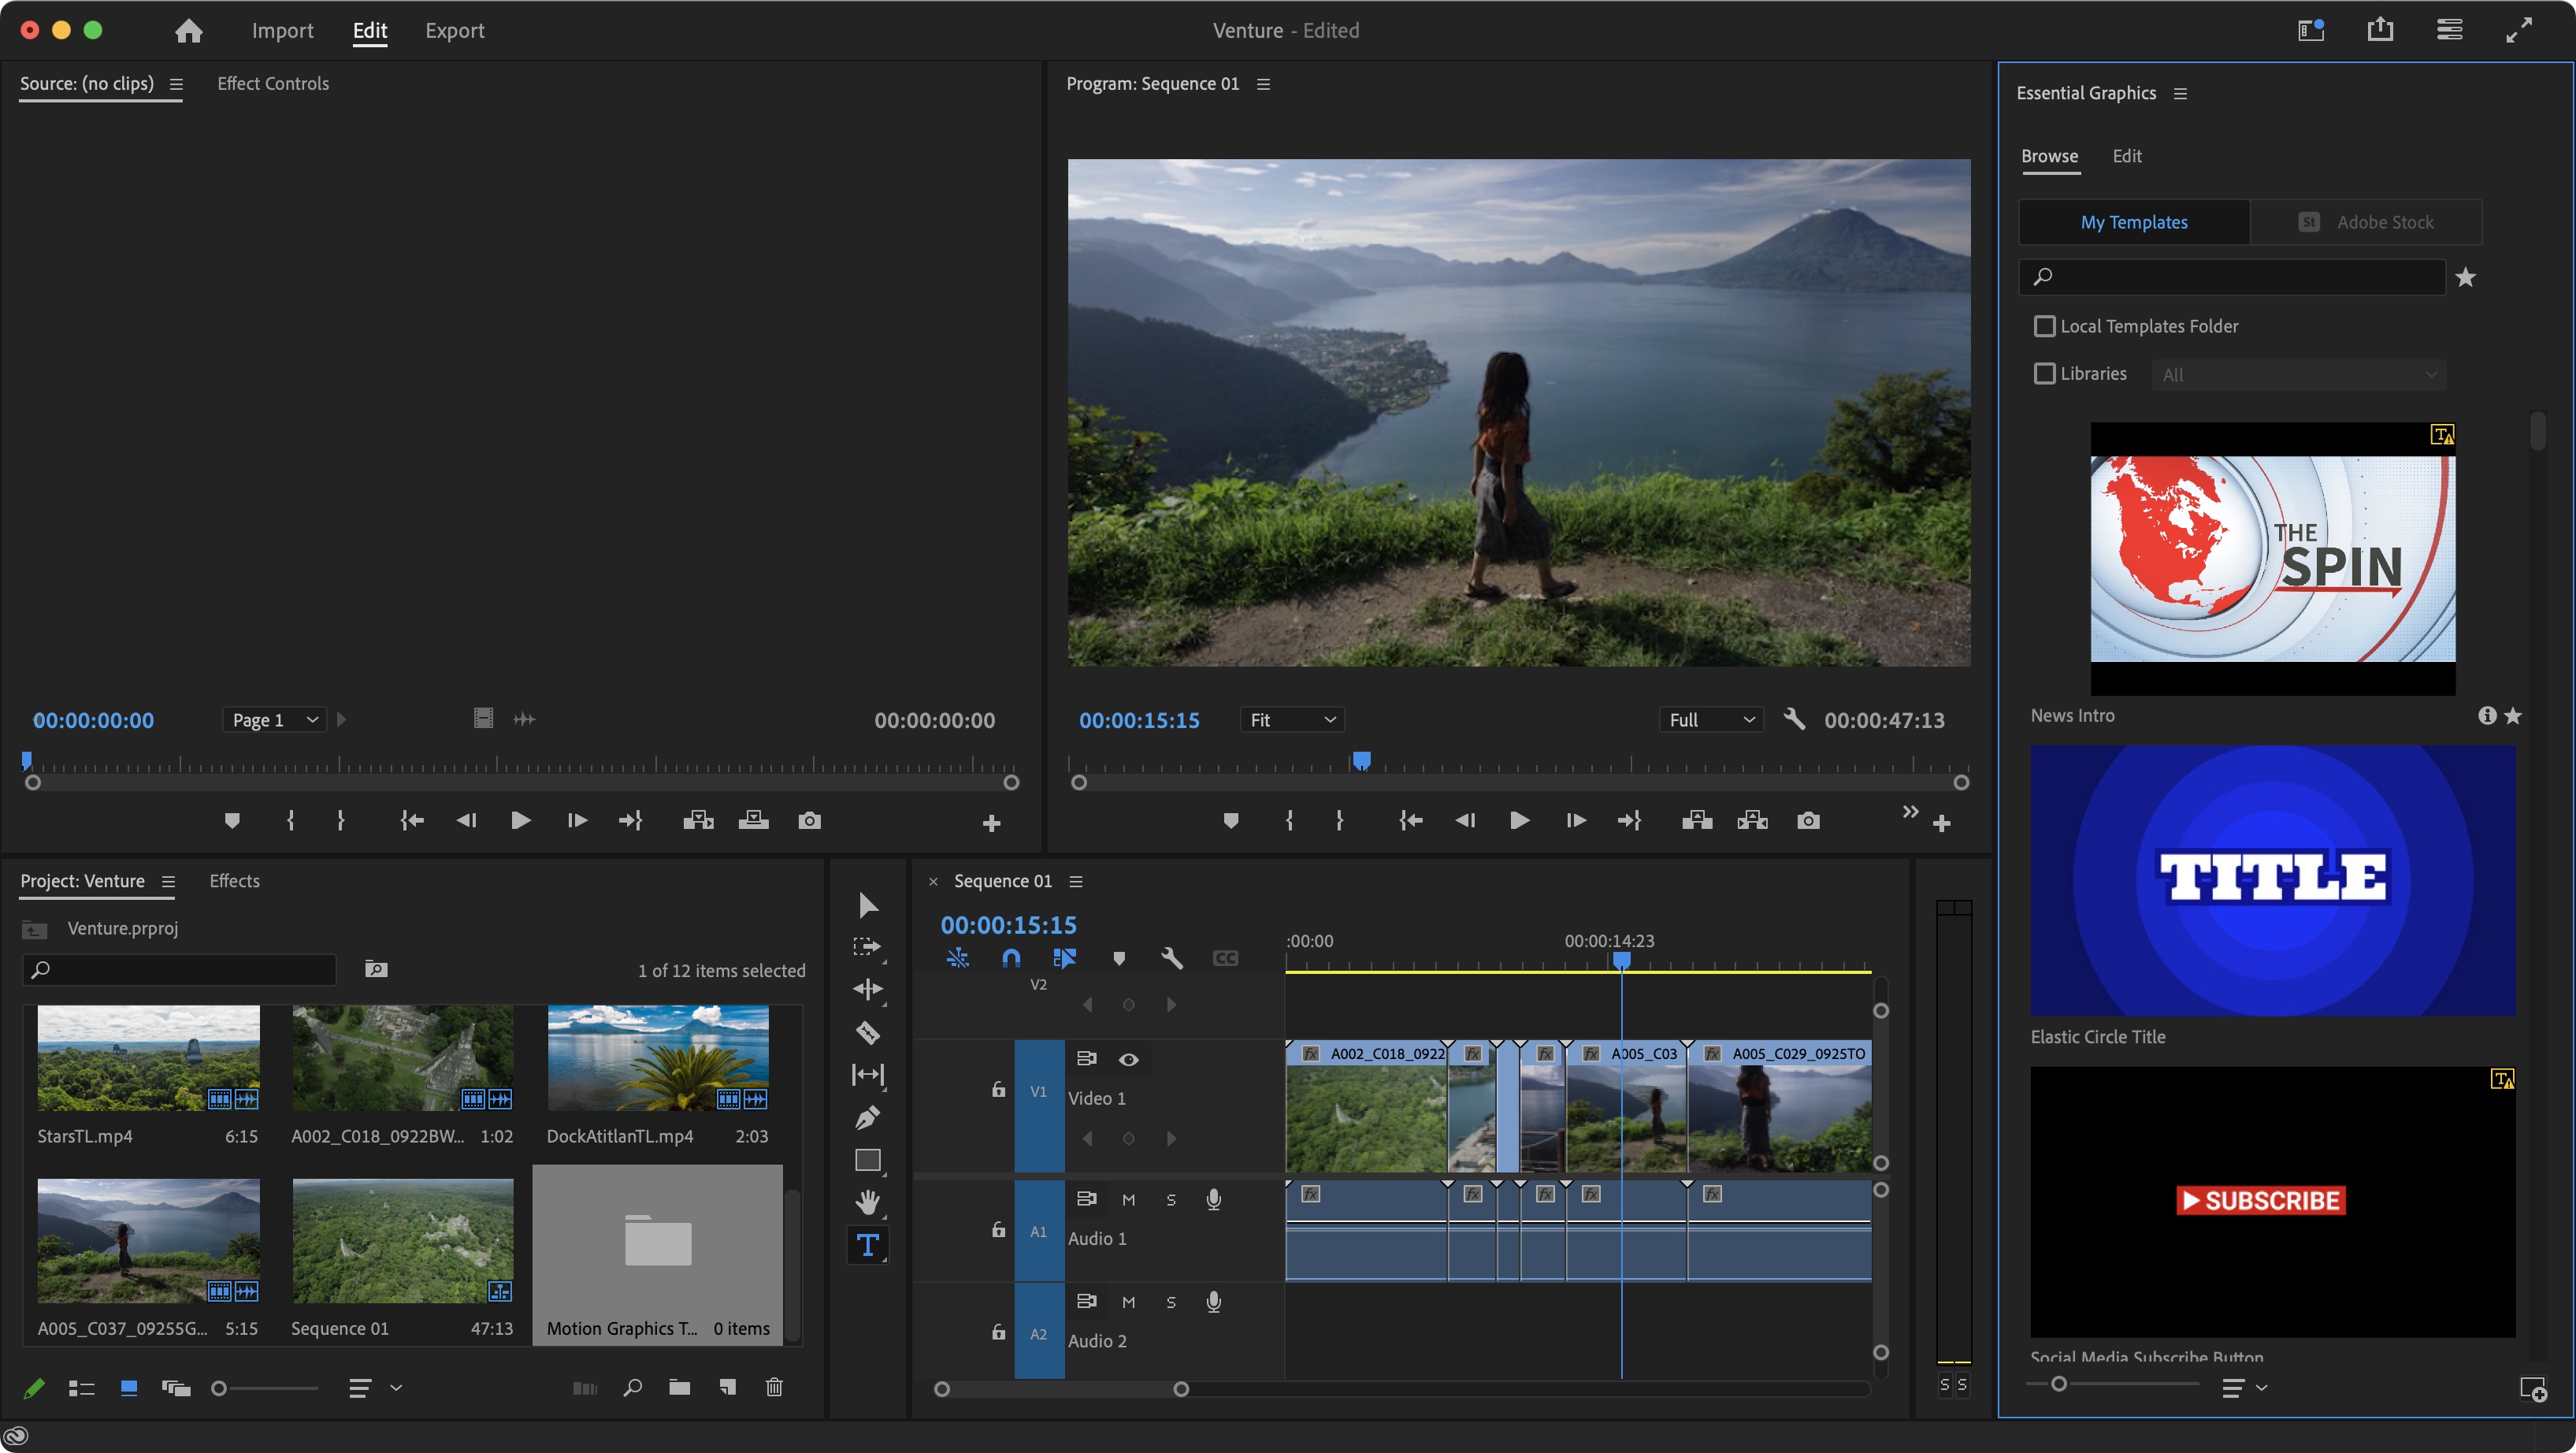
Itll appear as a sidebar, to the right of the interface.
Youll see dozens of thumbnails, representing various templates, many of which are titles.
Find one you like and drag it to your Timeline.
It is possible none of those strike your fancy, or youd like to just start from scratch.
you might obviously click and drag it to another location with ease.
Holding the Shift key at the same time, would move your clip 5 frames at a time.
You also have control over your texts duration right from inside the Timeline.
When that happens click and drag it inward or outward to decrease or increase its duration respectively.
verify the selection tool is triggered.
If it isn’t, press it, or hit the V key.

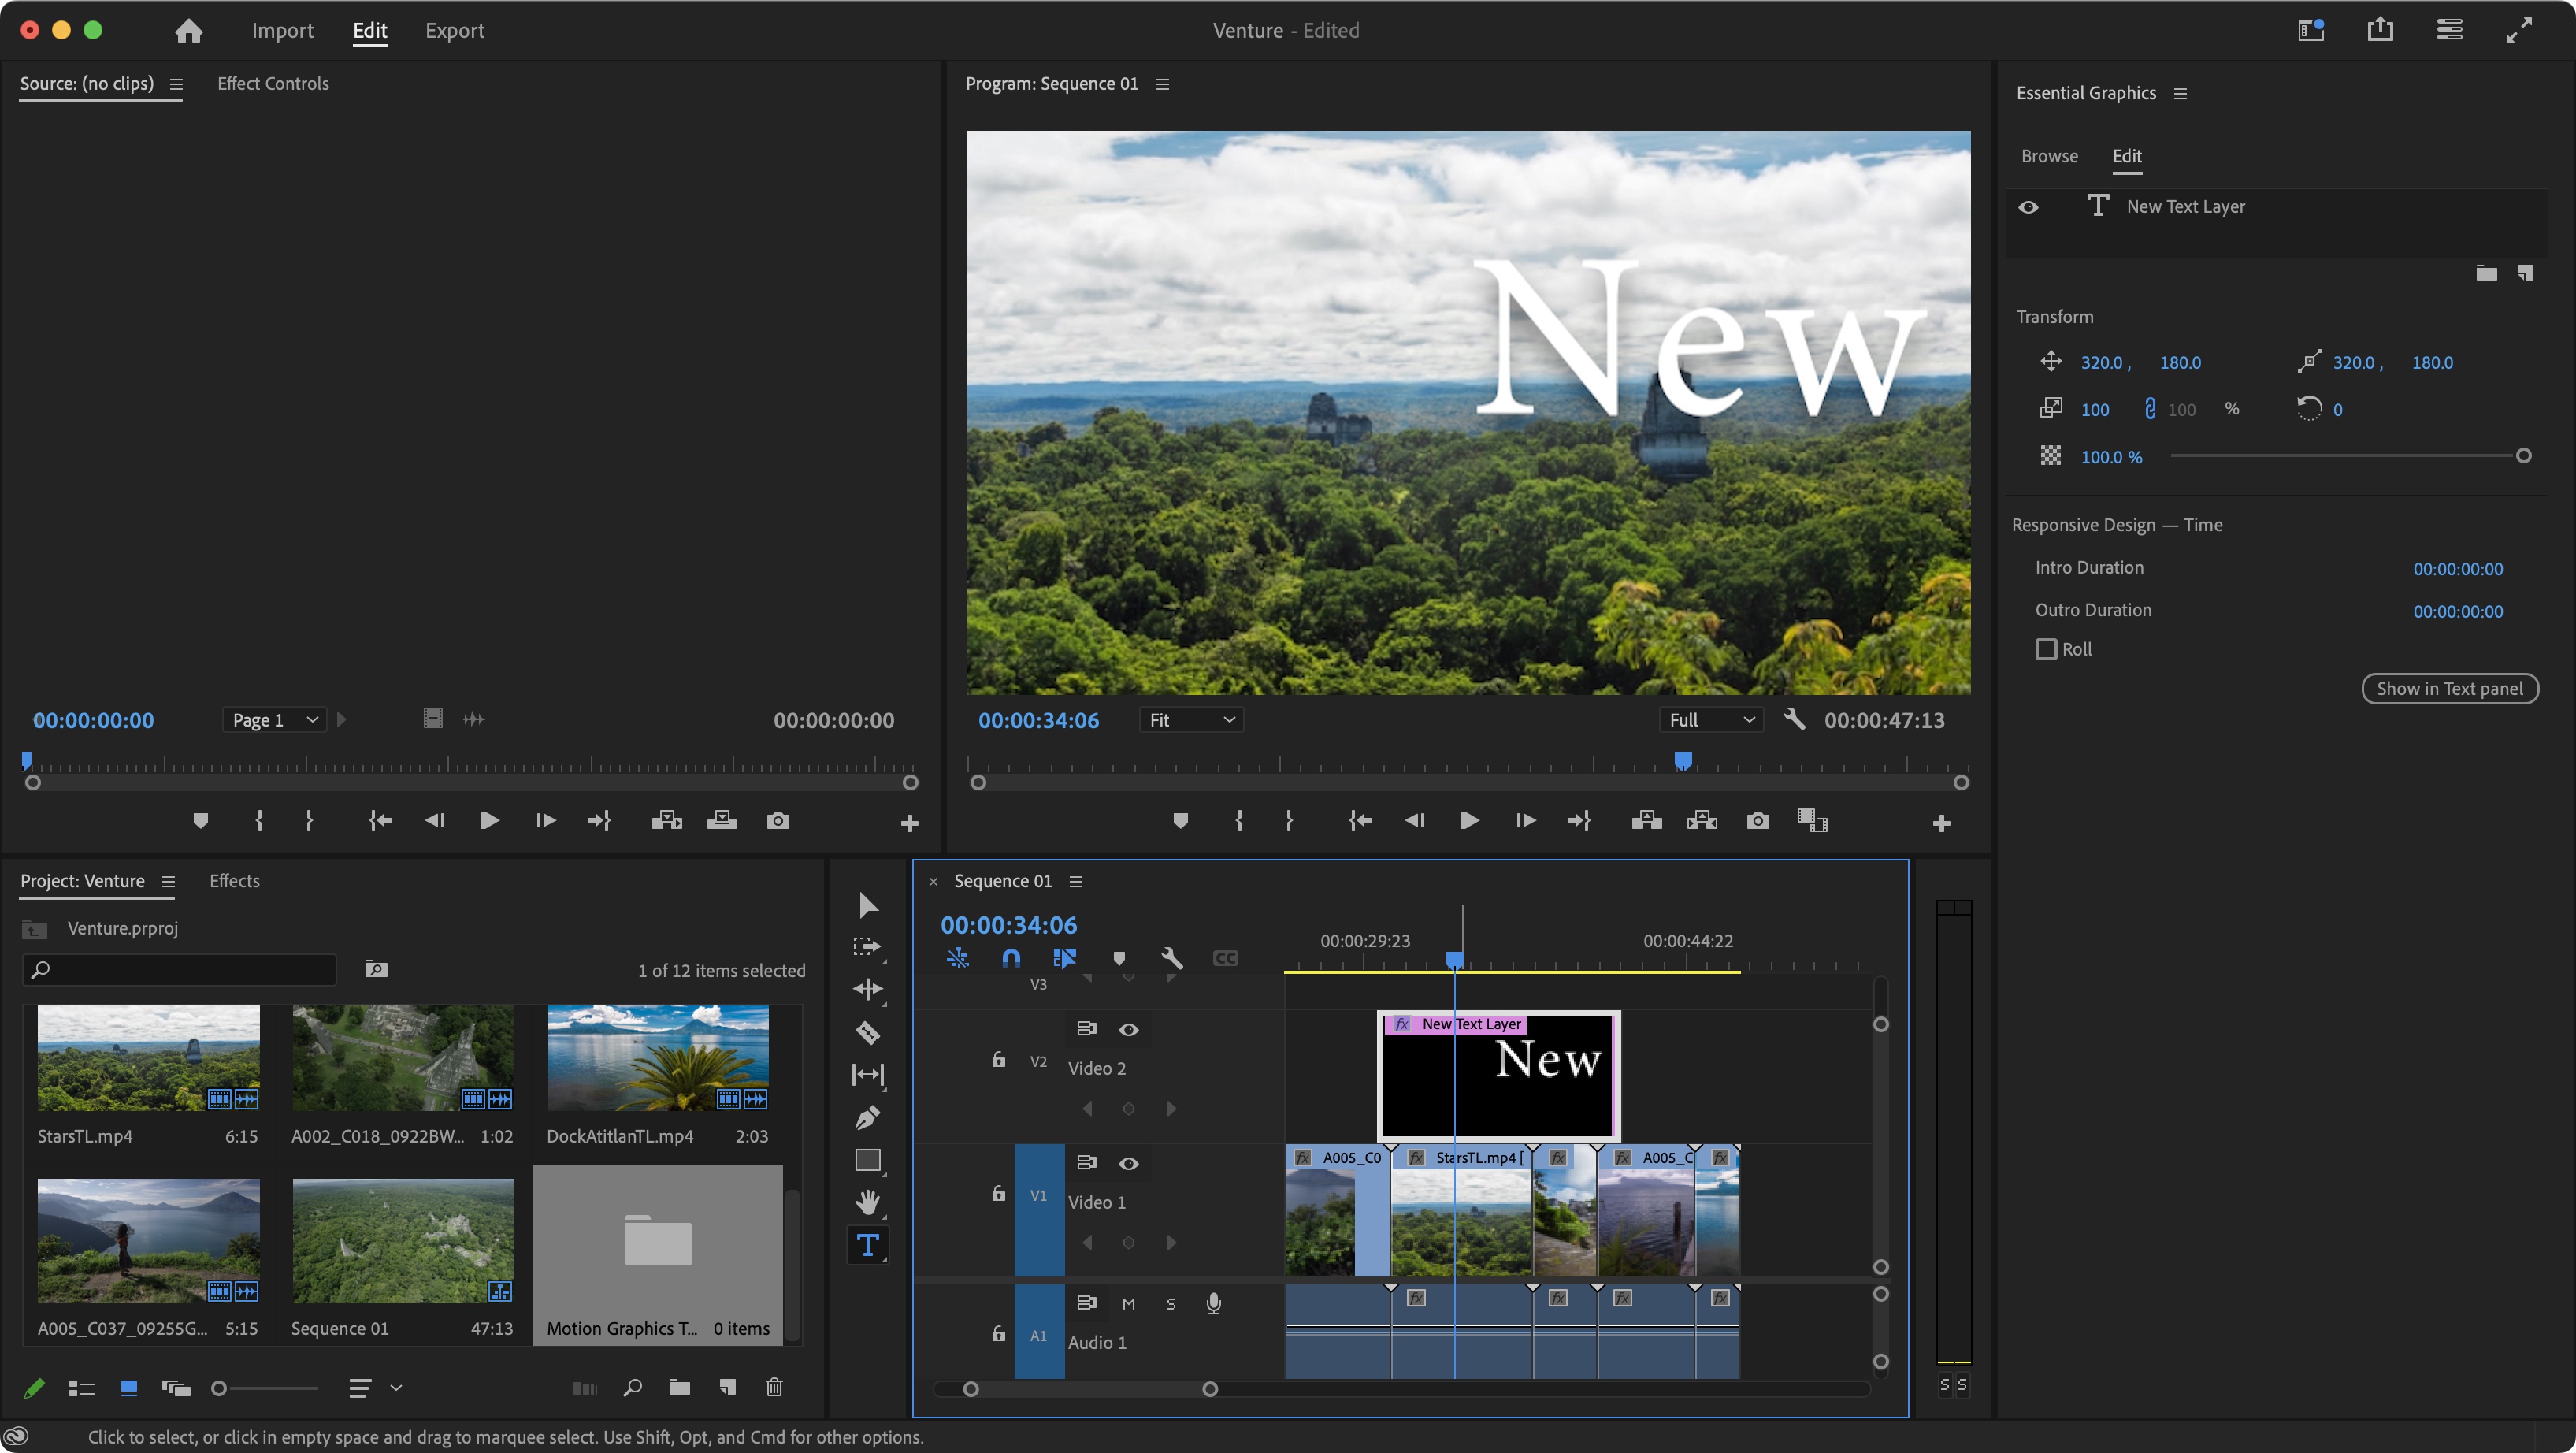
Now move over to the main preview panel, and choose the generic text.
Youll find resize handles appear.
To edit the text, double click inside the box to highlight it.

Just bang out away, and make it your own.
Step 4: Customization
Theres only so much you’re free to do in the Timeline.
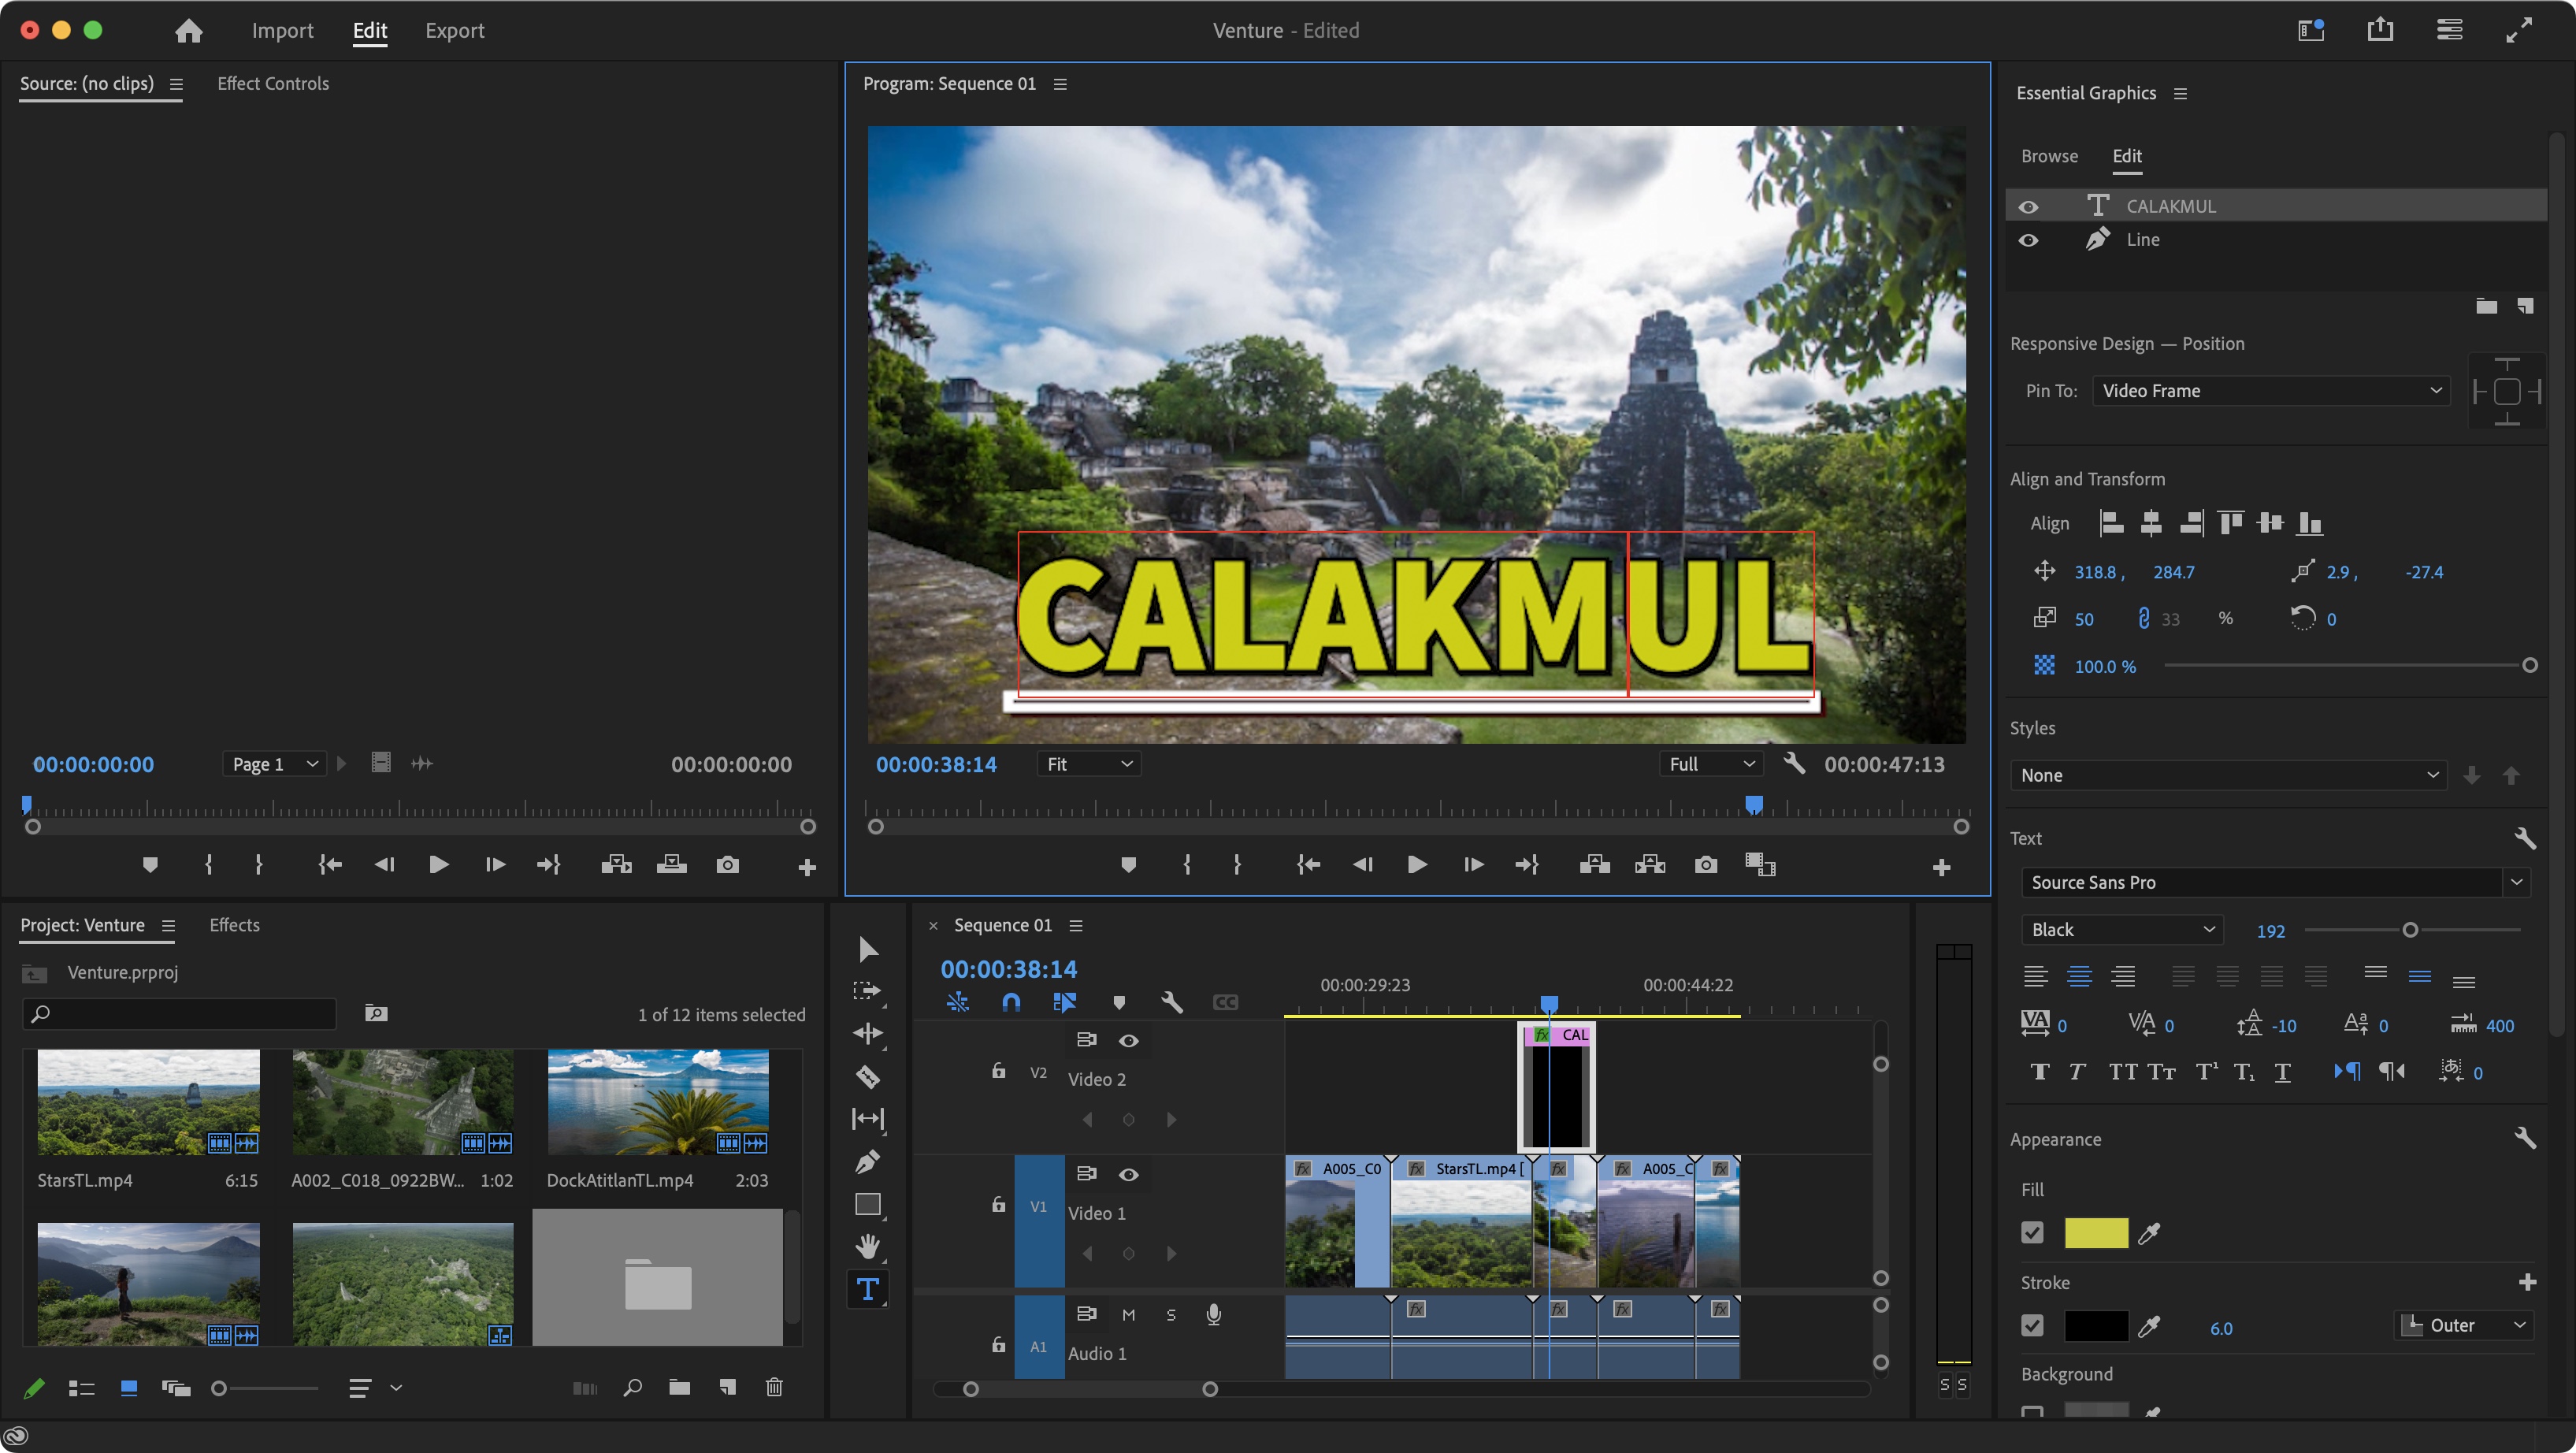
The bulk of the parameters you might alter are to be found in the Essential Graphics panel.

When a text box is selected in the Timeline, that panel will automatically switch to its Edit tab.
Anything that can be changed, can be altered here.
Now, as you scroll the playhead in the timeline, youll see the animation taking place.
This is in addition to the text layer.
To do this, go to Window > Effects to reveal that panel, lower left of the interface.
Scroll through until you see something you like, and drag it to that section in the Edit tab.
This how-to is there to serve as an introduction, to encourage you to experiment and try something new.
Have fun and explore.
For more help, see our guideHow to add transitions in Premiere Pro.
