When you purchase through links on our site, we may earn an affiliate commission.Heres how it works.
Thats what this guide is here to help you with.
For example, because theres no password to steal,phishingattempts are rendered useless.
Tools & requirements
Quick steps
Step by step guide
1.
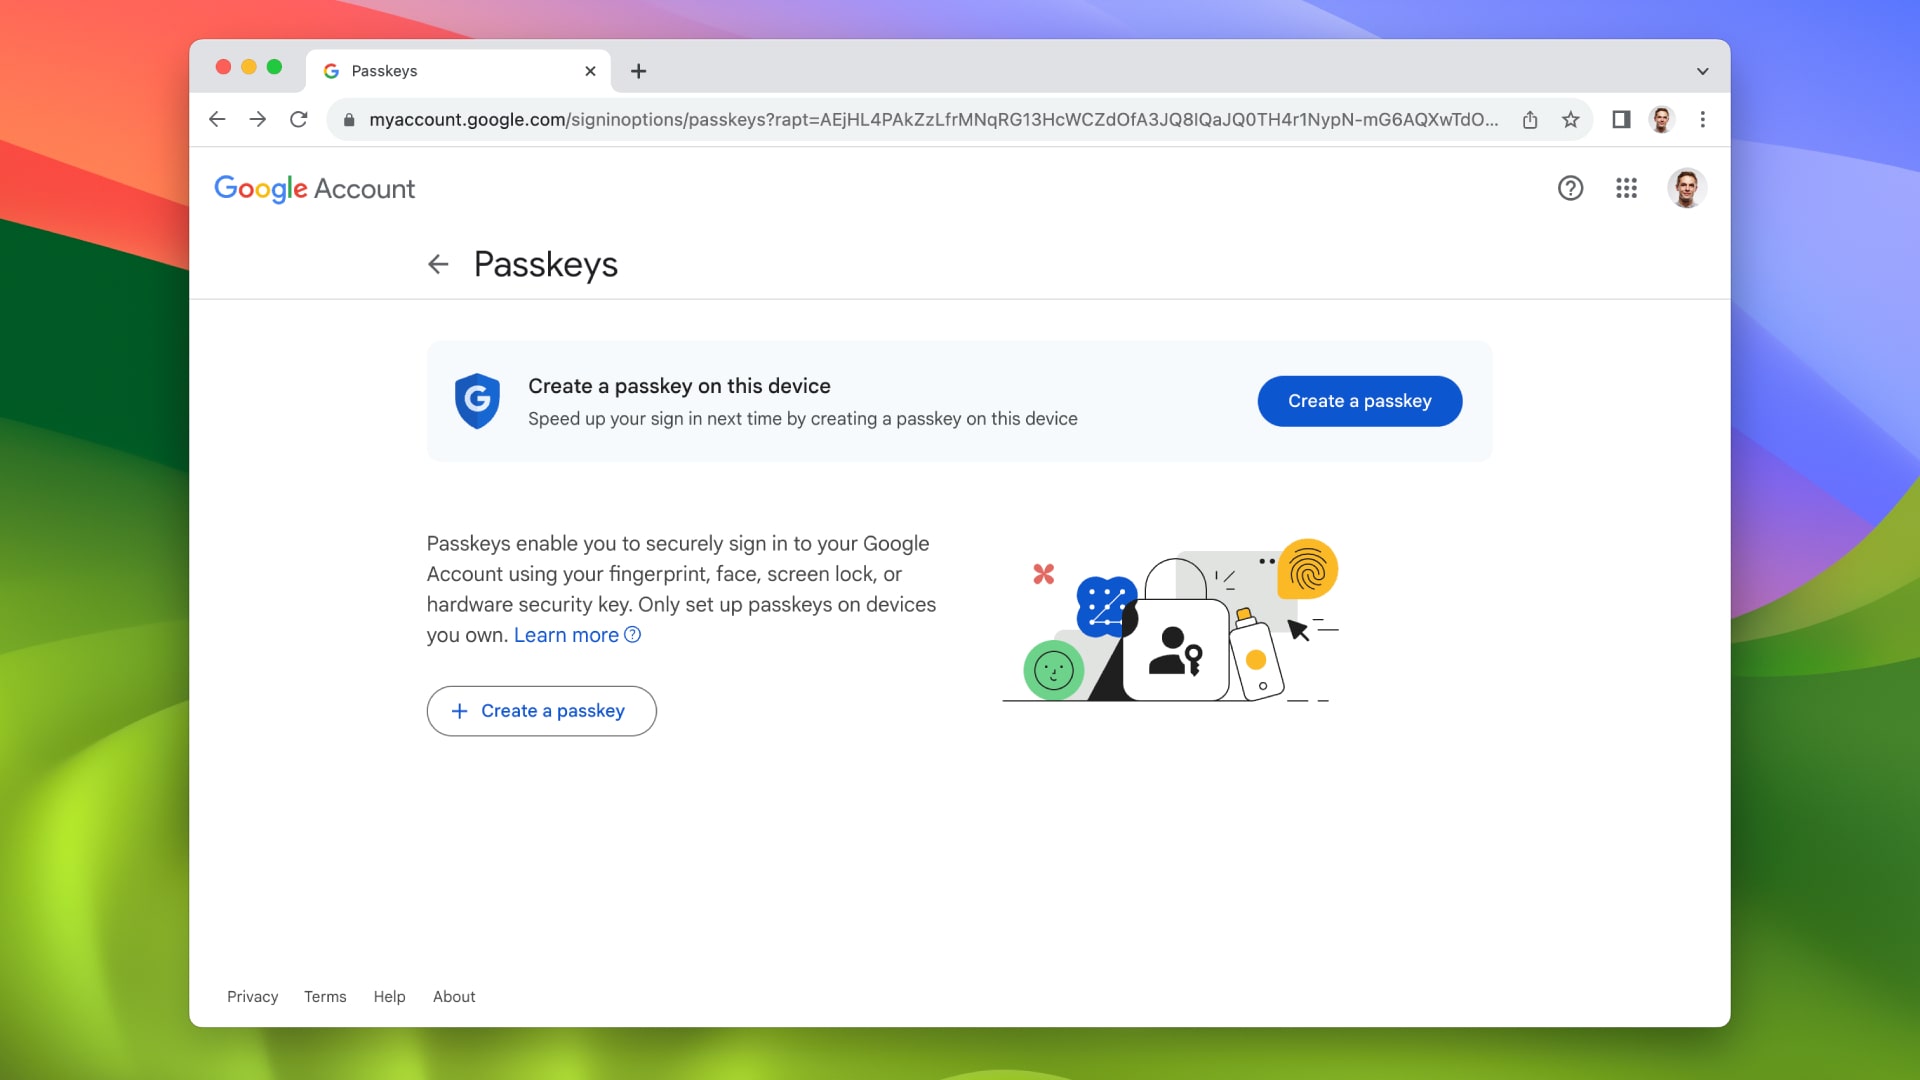
Create a passkey
First, access to your Google account and go to your account options.
In the left-hand sidebar, selectSecurity.
Scroll down toHow you sign in to Google, then choosePasskeys.
On the next page, clickCreate a passkey.
You might be prompted to allow your web surfing app to access your systems passkeys.
If so, follow the on-screen prompts to permit this.
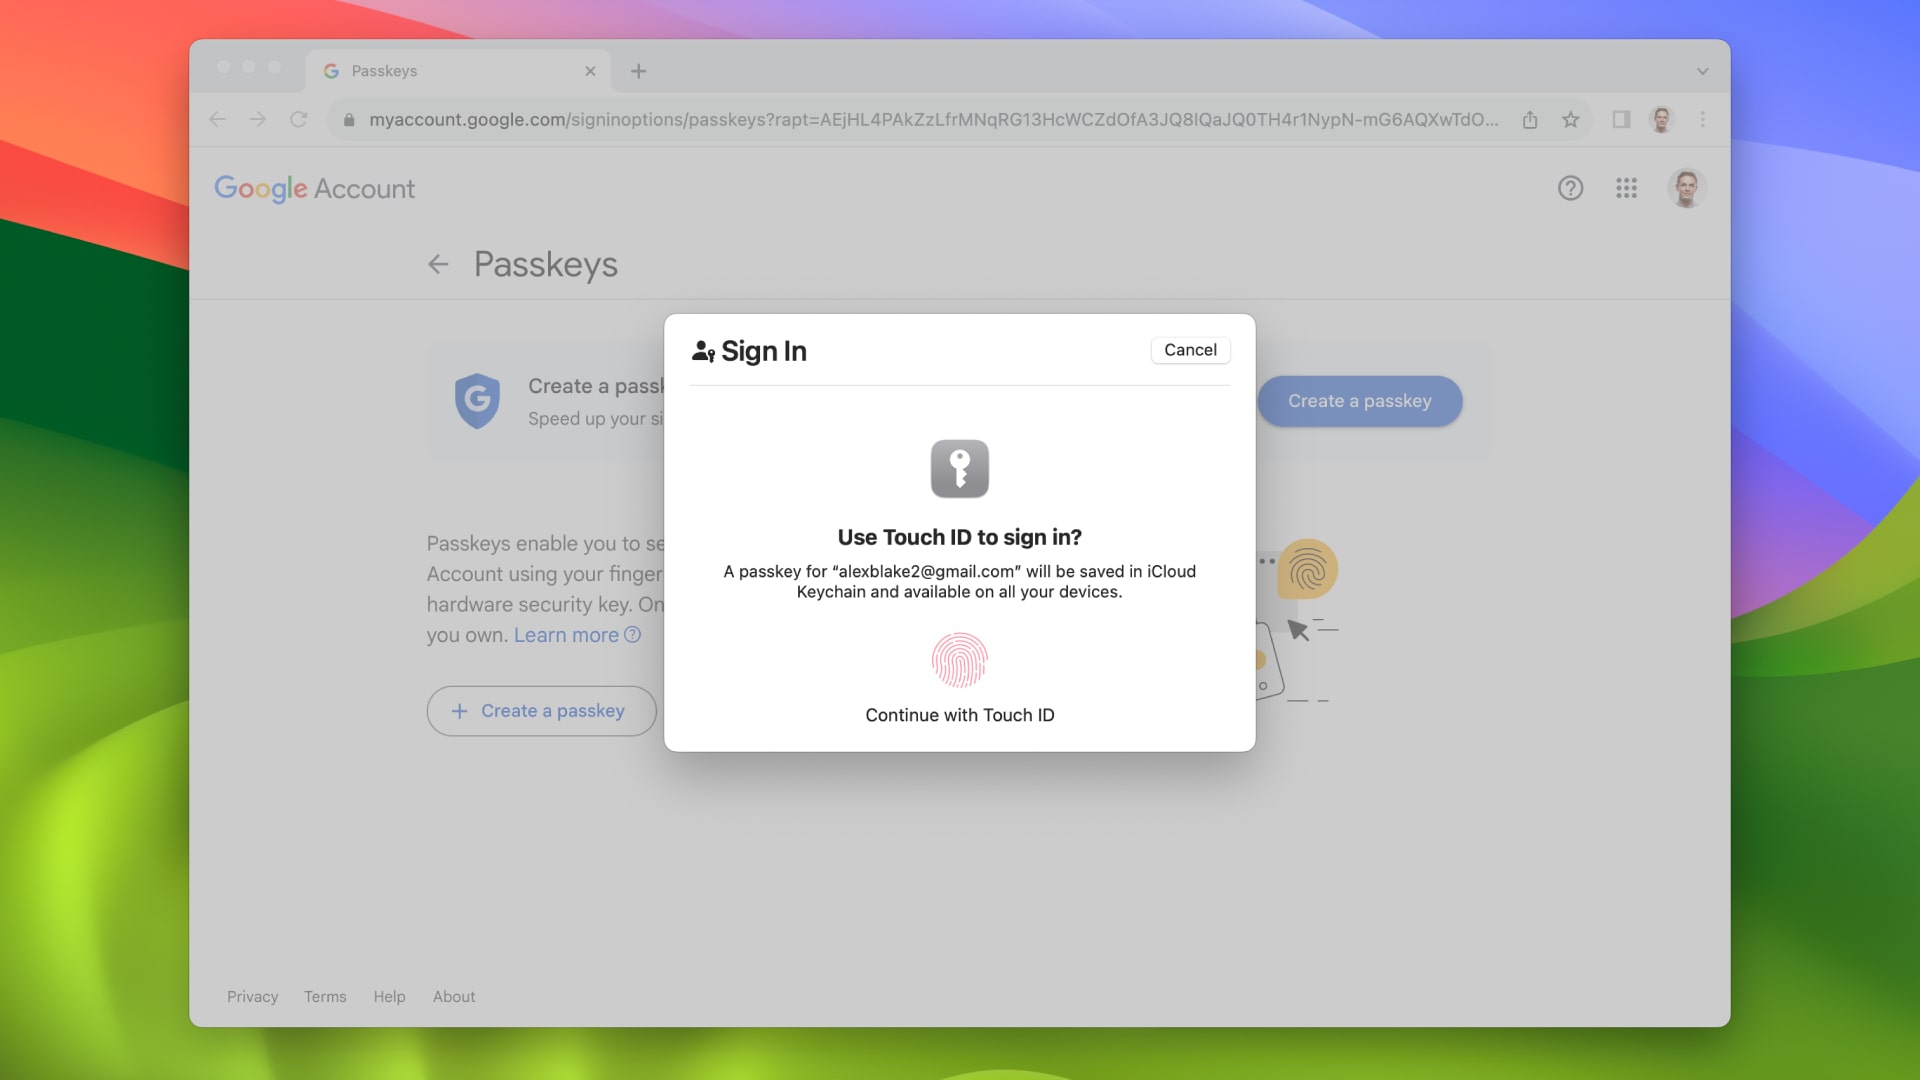
Now, pick whether you want your equipment or your web client to store the passkey.
Once youve chosen, a prompt should appear to put in your biometric data.
On a MacBook, for example, this will be a Touch ID request for your fingerprint.
On an iPhone or Android gear, it might be a request for Face ID or Android facial recognition.
Just use your fingerprint reader or facial recognition camera and your passkey should be created.
Youll see a pop-up window titled Passkey created if it was successful.
you might see all your created passkeys by going to Security > Passkeys in your Google account options.
Here, you’re able to give each passkey a name, or delete them if you wish.
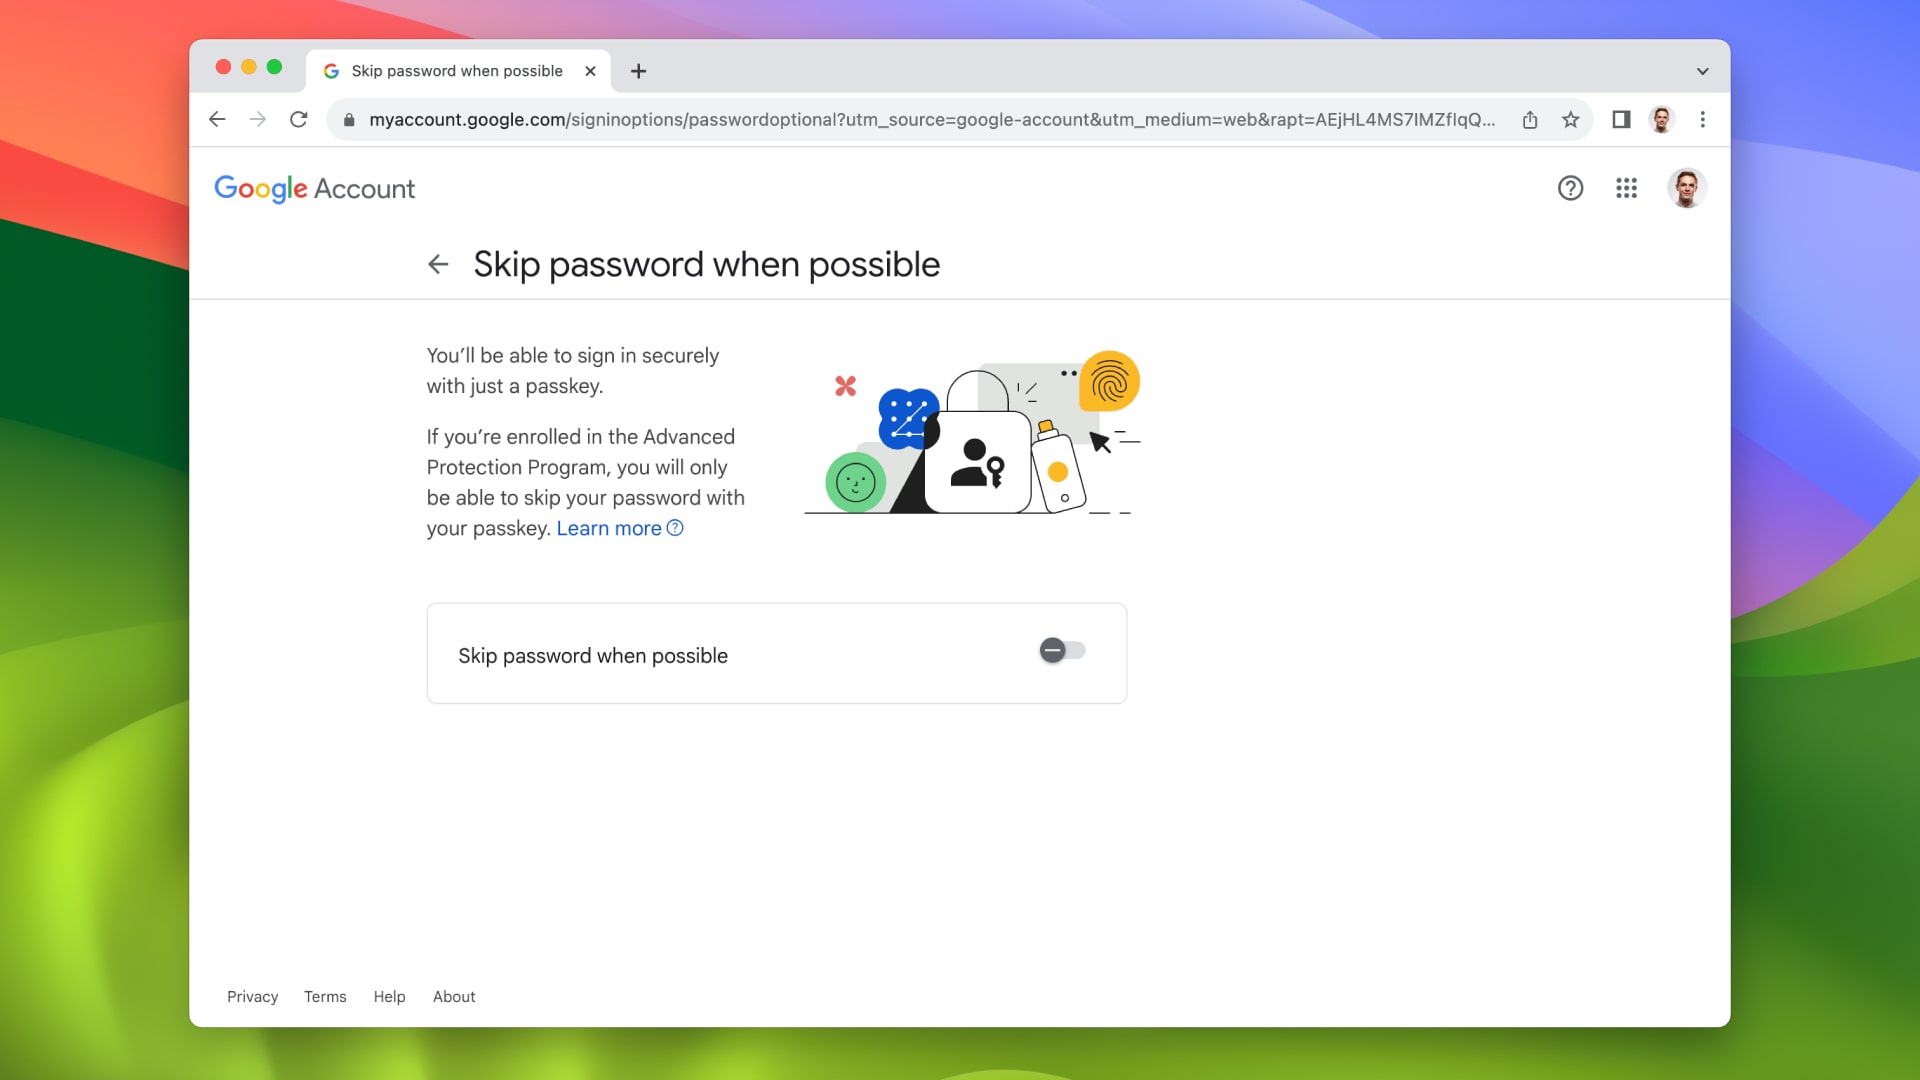
If you do, go to your Google account controls page and clickSecurityin the left-hand sidebar.
Scroll down until you seeSkip password when possible.
Click this, then turn off the toggle on the next page.
With any luck, that should help keep your accounts and logins more secure in the long run.
