When you purchase through links on our site, we may earn an affiliate commission.Heres how it works.
Digitize old family photos
Start by creating digital copies of your old family photos.
Use adjustment layers
Whether youre sharpening detail or tweaking hues, make each of your adjustments on separate layers.
This way, you’re able to easily change them later to perfect the overall effect.
Try out neural filters
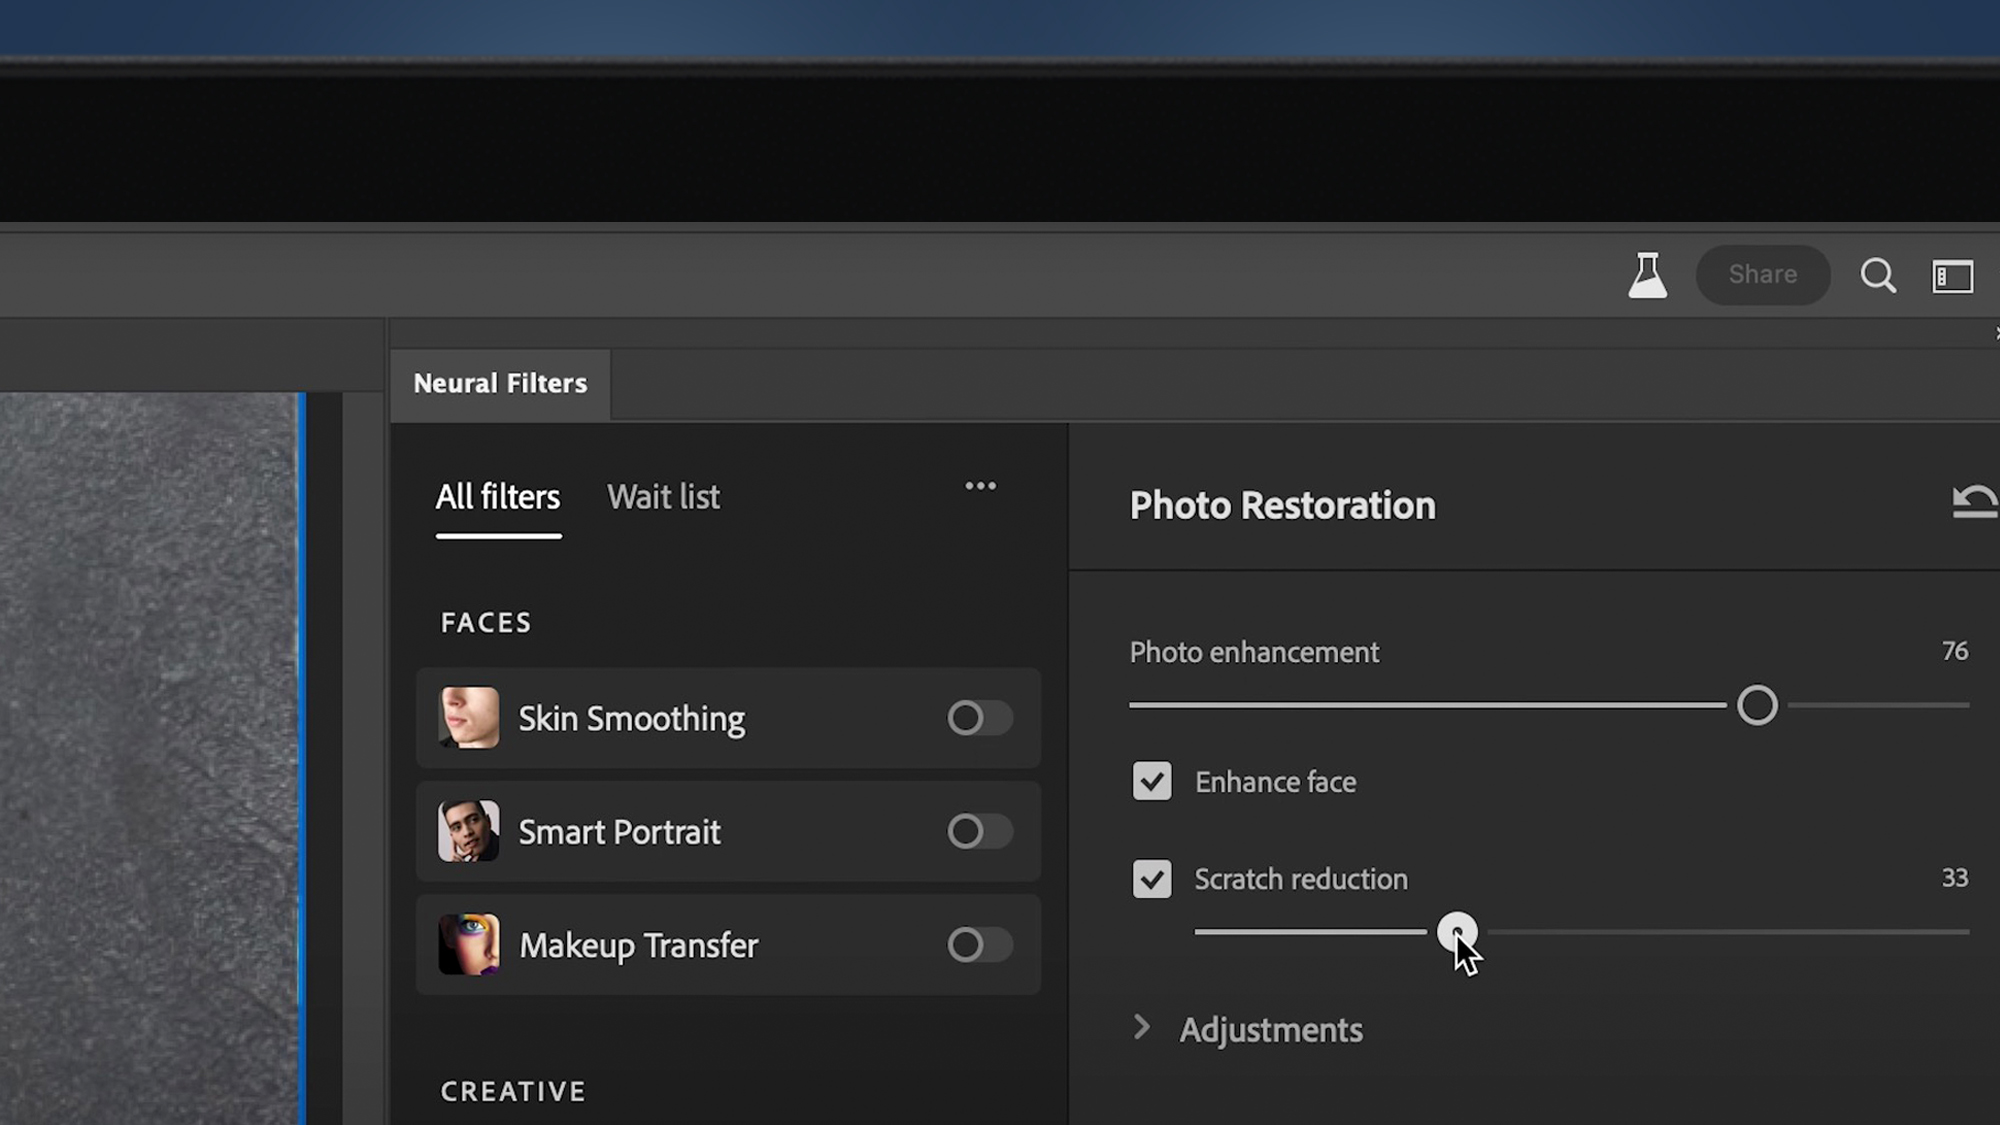
Photoshop now features a dedicated neural filter called Photo Restoration.
This automates much of the process, allowing you to fine-tune the end result using easy sliders.

Leafing through photo albums at Christmas is guaranteed to leave your whole clan feeling nostalgic.
But even cherished memories dont have the same effect when theyre cracked and faded after decades of imperfect storage.
There are a few ways to achieve this.
The easiest is usingGooglesPhotoScanapp.
Available foriOSandAndroid, it lets you capture glare-free photos of printed images in just a few seconds.
Output resolution will depend on the quality of your scanner.
A third option is to use a mirrorless or DSLR camera to photograph your prints.
This can produce sharp images, but there are a few things to be aware of.
Youll need to ensure prints are set flat on a surface and evenly lit.

Its the closest thing to an automated fix for film photos.
Its still in beta, but its incredibly powerful.
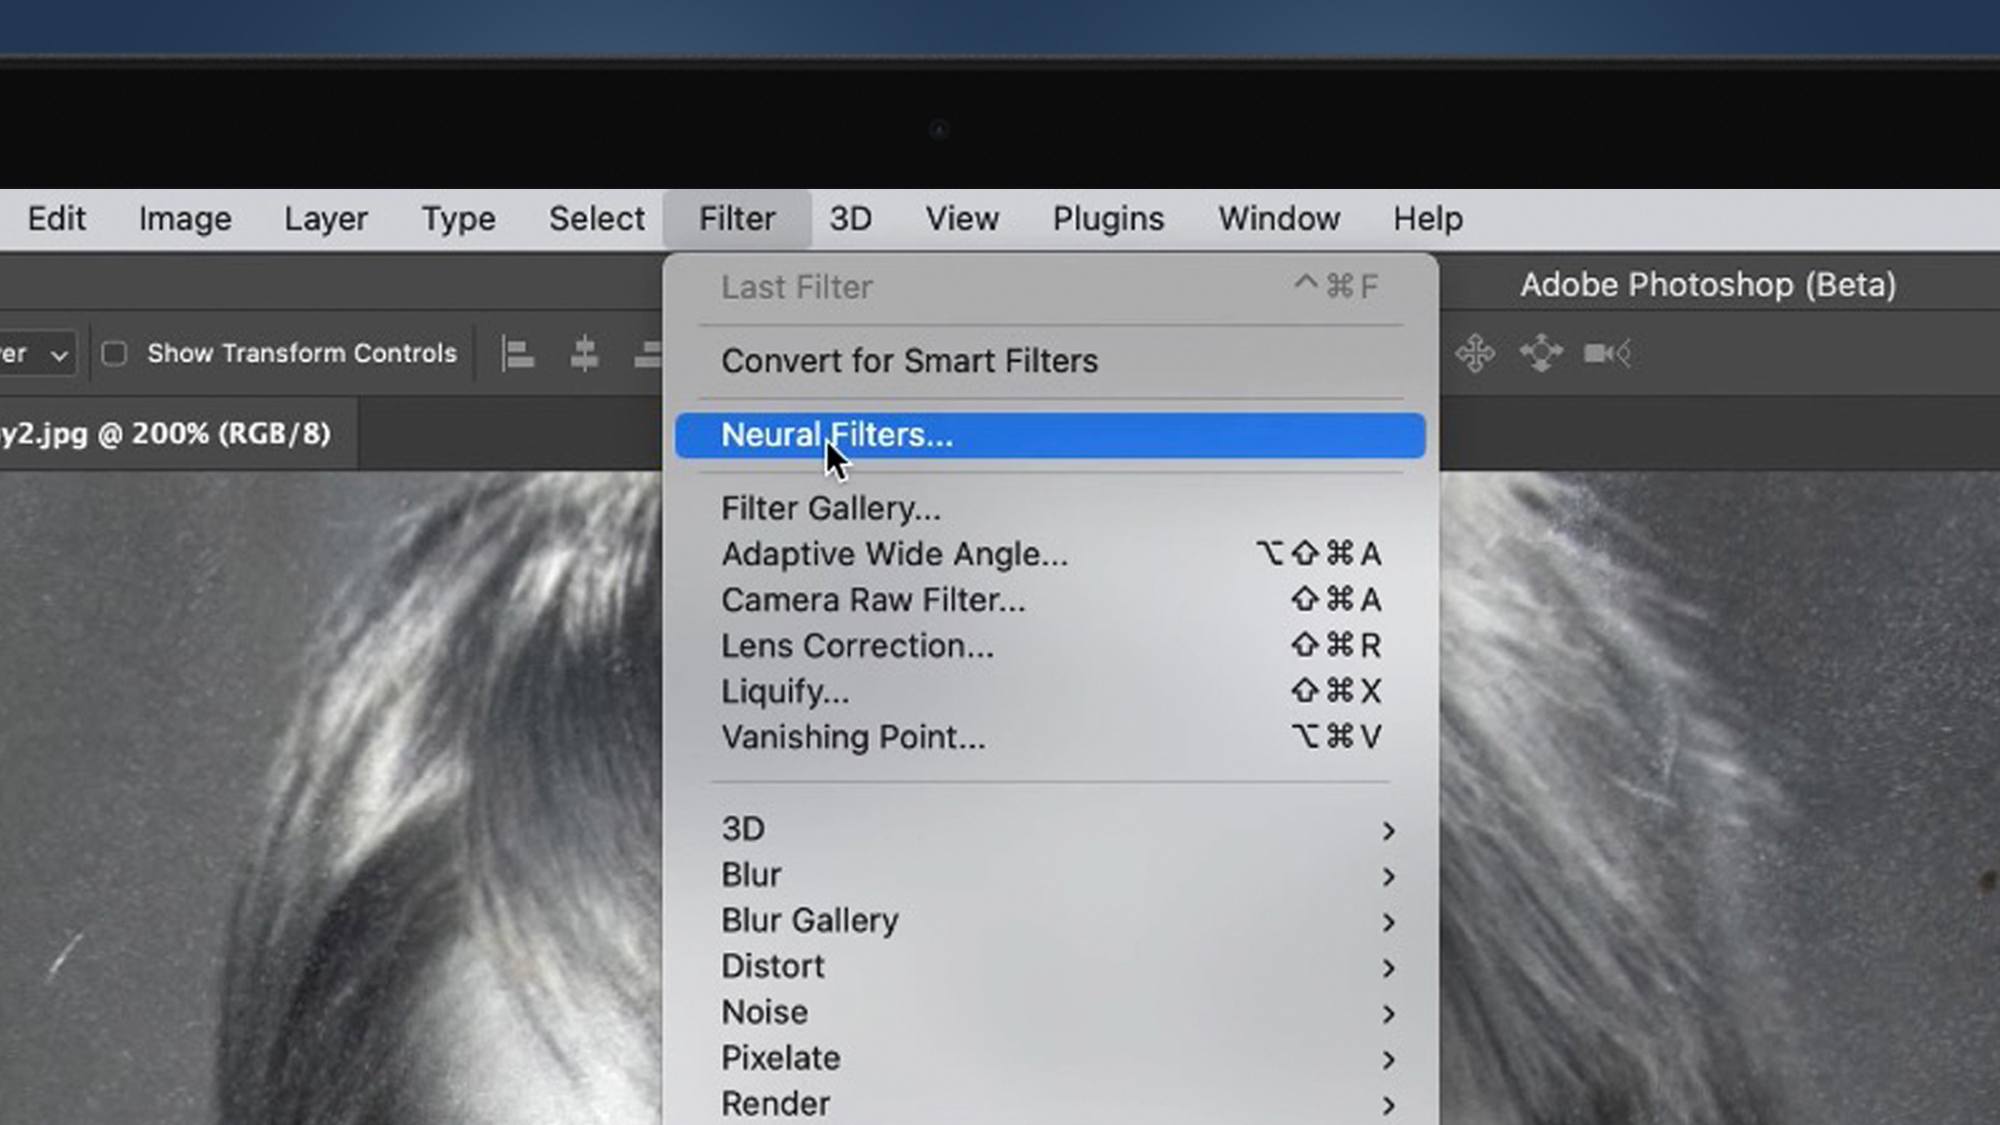
Start by opening your digitized family photo in Photoshop.
Then go toFilters > Neural Filters > Photo Restoration.
If its your first time using the filter, youll need to download it first.
Note that the file runs to several hundred megabytes.
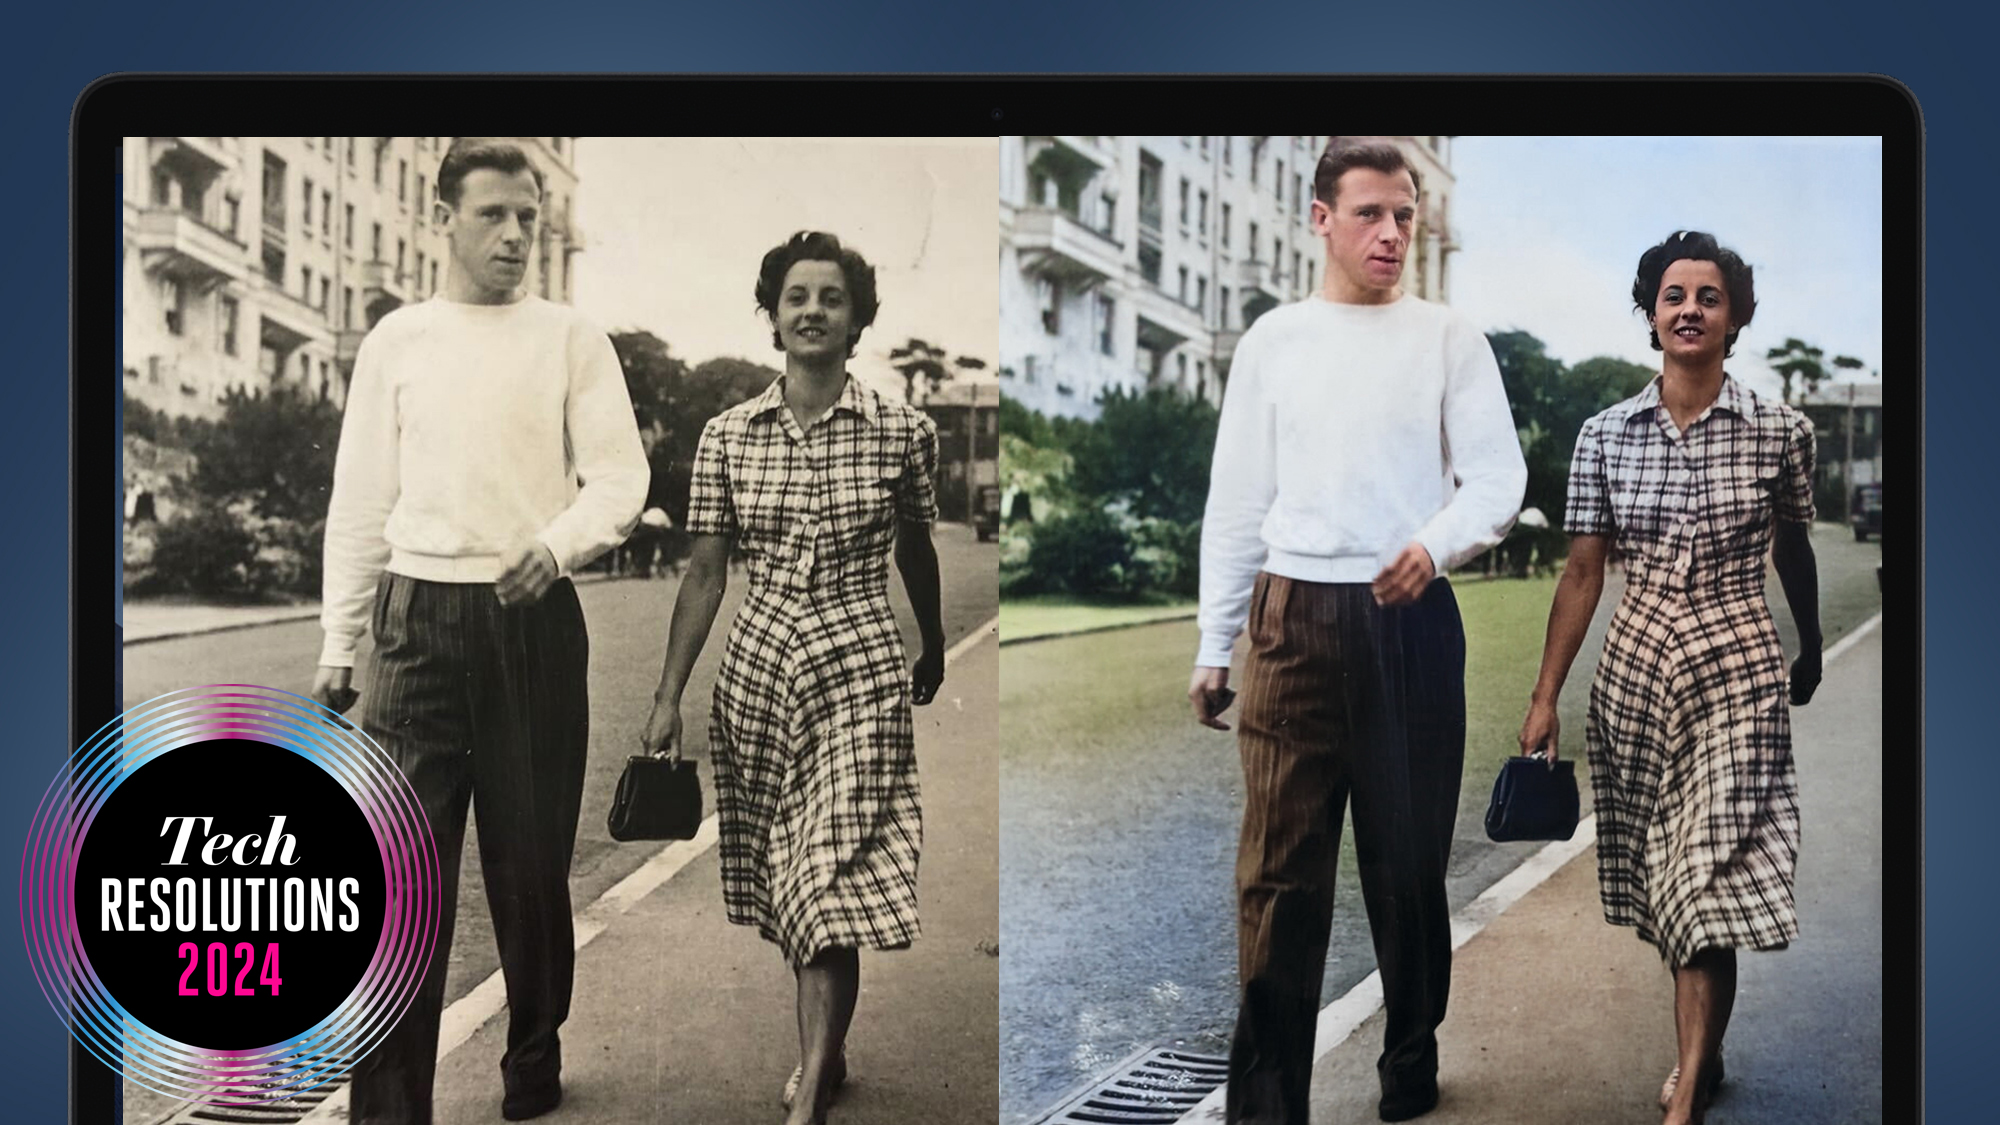
When enabled, the filter will automatically get to work.
It repairs damage, enhances color and refines detail remarkably well.
It can even fix issues in the original shot, such as motion blur.
These include options to adjust the intensity of the enhancement and increase the level of scratch reduction.
Youll want to do this, as its a seriously effective way to remove imperfections from a scanned print.
it’s possible for you to also make tweaks to how heavily noise and artifacts are reduced.
Careful input here is the key to achieving a realistic-looking image.
Dial everything up high and the input of AI can become noticeable.
But keep it subtle and you’re able to easily create a remarkable restoration in a few clicks.
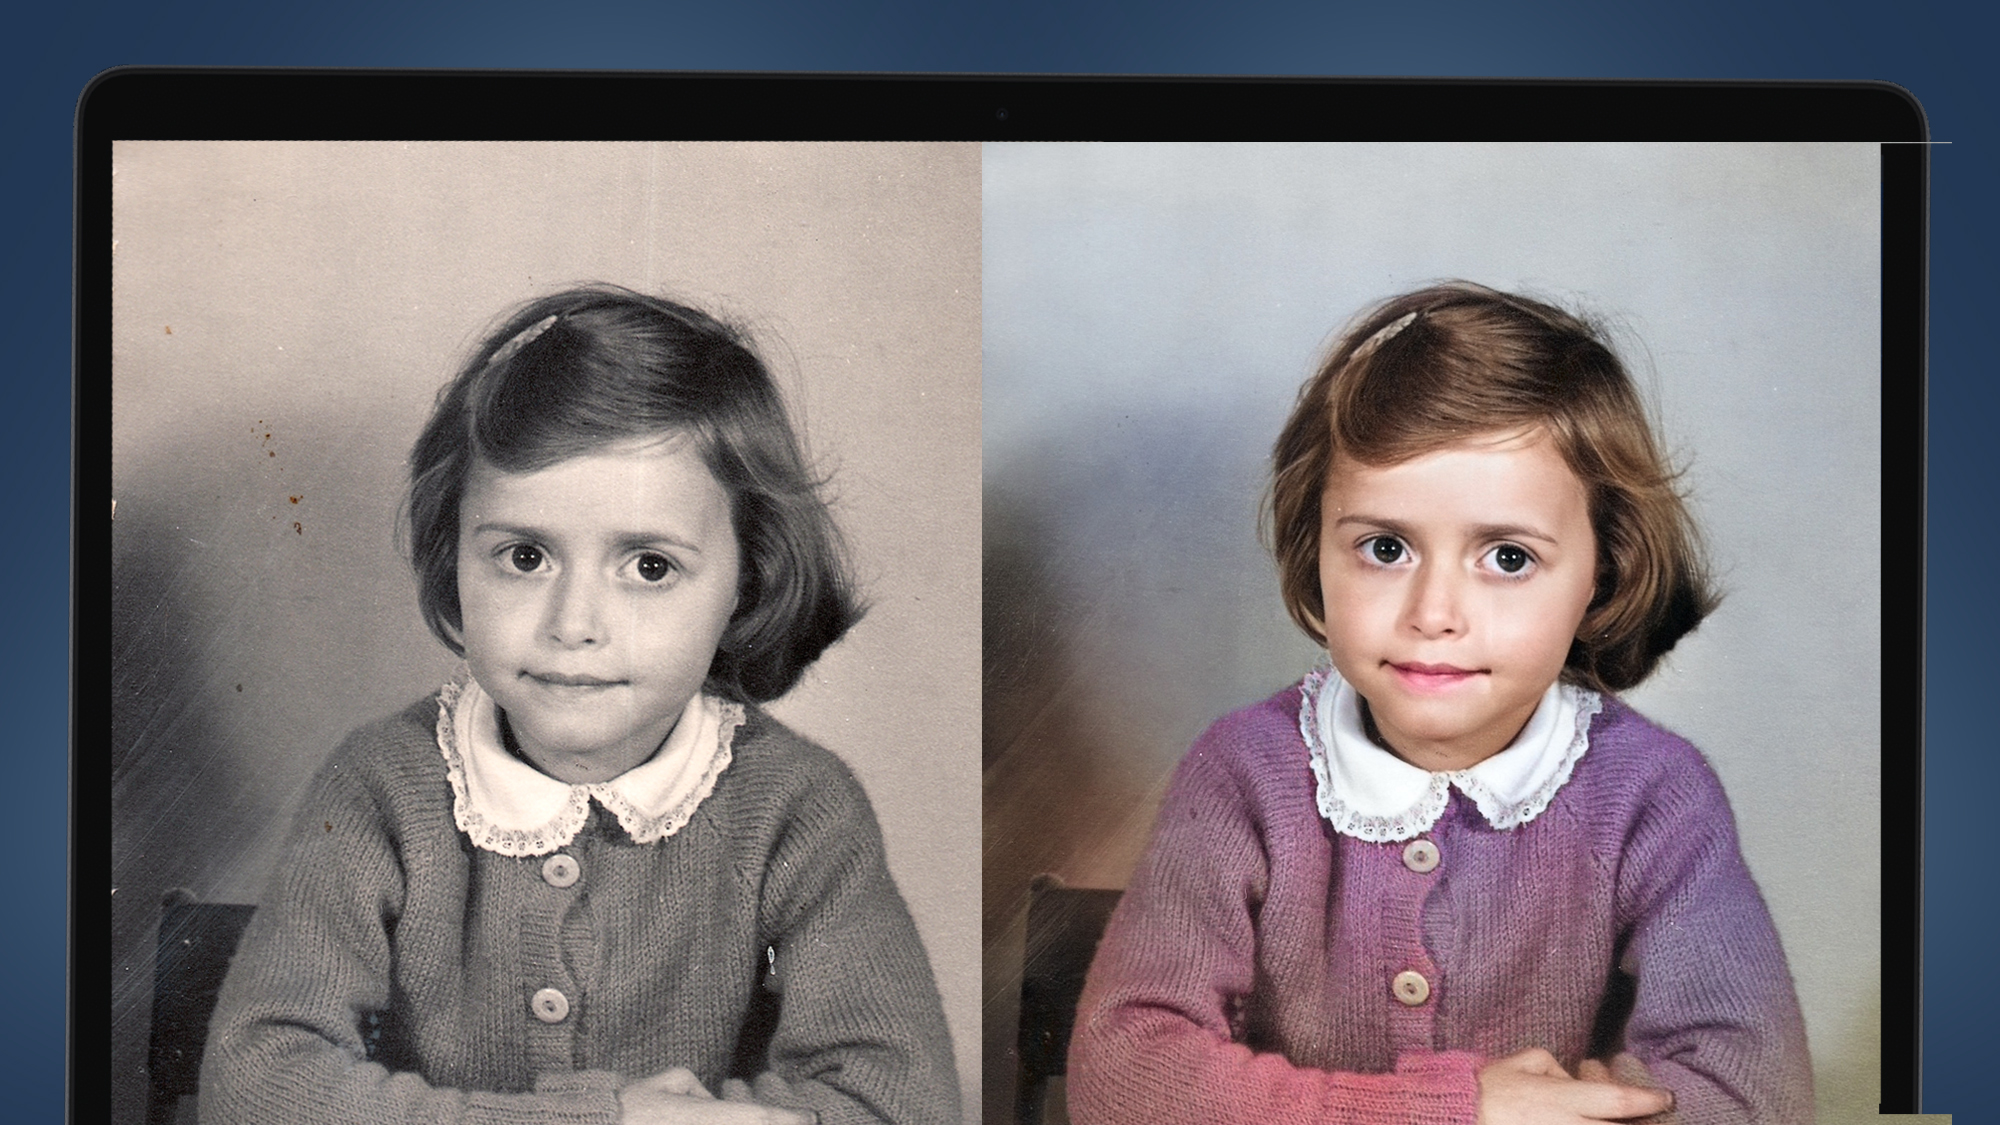
Go toFilters > Neural Filters > Colorize.
It generally does an excellent job of subtly saturating subjects in old photos, while leaving surroundings gently faded.
you’ve got the option to apply different color profiles within the filter.
CompareRetro high contrastwithRetro fadedand youll notice a marked difference in intensity.
it’s possible for you to also make individual adjustments to profile strength, saturation and color levels.
Once youre happy with the filters work, return to the main workspace for further refinement.
Heres where Color Balance comes in.
From the Adjustments panel, selectColor Balance.
This will create a new adjustment layer.
You might also want to apply anUnsharp Maskto better define the edges in your image.
Go toFilter > Sharpen > Unsharp Mask, then set the Amount, Radius and Threshold to your preference.
Whatever adjustments you make, its best practice to apply each on a separate layer.
When making adjustments, it can help to have a quality reference image to compare to.
But its not the only tool at your disposal.
The Dust & Scratches tool allows you to make fine-grain adjustments to counteract any cracks present in scanned snaps.
Go toFilter > Noise > Dust & Scratches.
Then drag the Threshold bar far enough to bring back some of the sharpness lost.
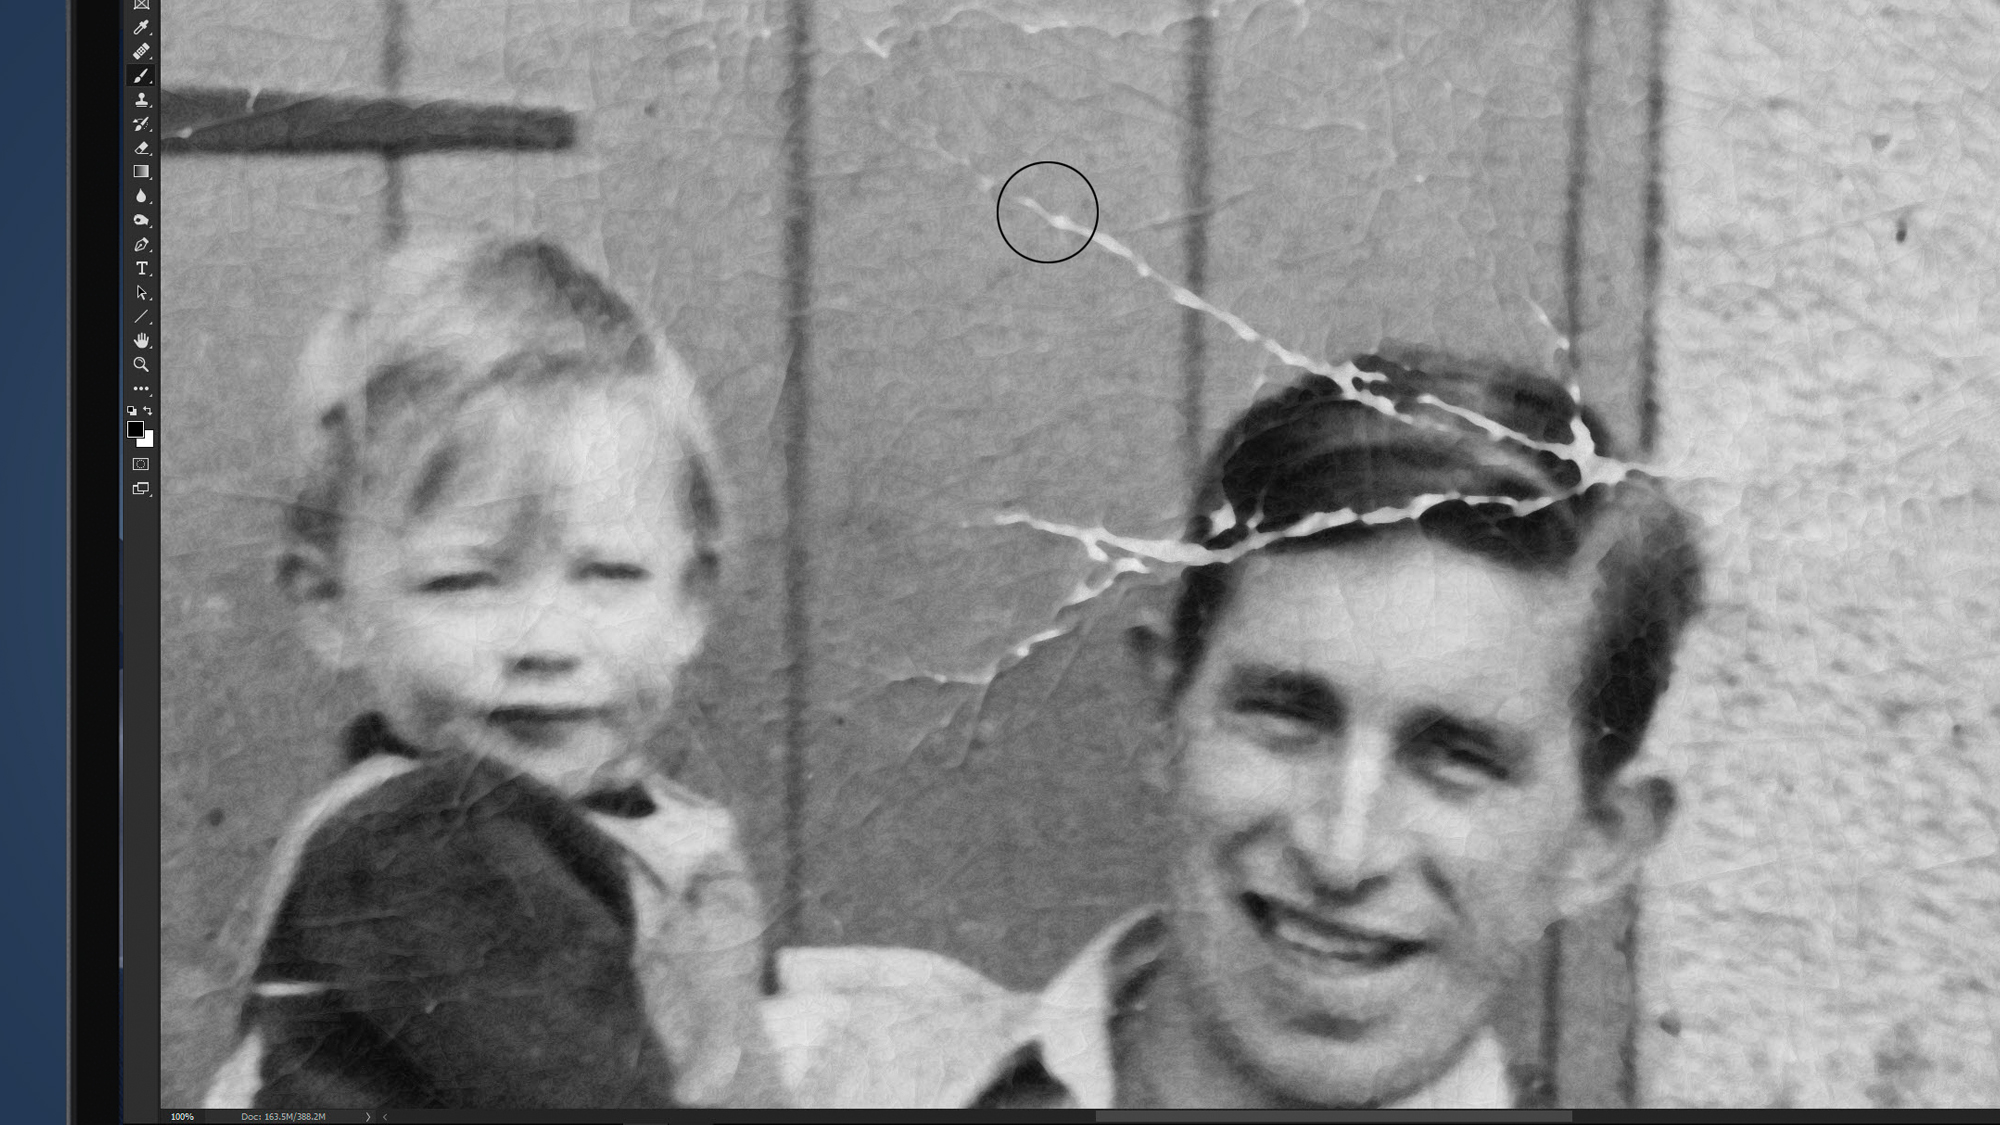
Any remaining blemishes will need to be removed manually.
Start with theSpot Healing Brush.
In the top toolbar,select Content-Awareandcheck the box labelled Sample All Layers.
Set the hardness to 50% and the size small enough for precision work.
Then its a case of carefully painting areas that you wish to repair.
If this doesnt completely remove scratches from your scanned print, try theClone Stamptool.
Its best to take a reference from as close as possible to the target mark.
Then carefully paint over the cracks.
Both feature free, albeit restricted, tiers and both have tools that can help to restore old photos.
